Here’s a step-by-step process to help you assemble your Collegeboxes faster and easier.
1. Remove Signature Collegebox from Supply Kit.
![](https://www.collegeboxes.com/wp-content/uploads/2023/10/1.jpg)
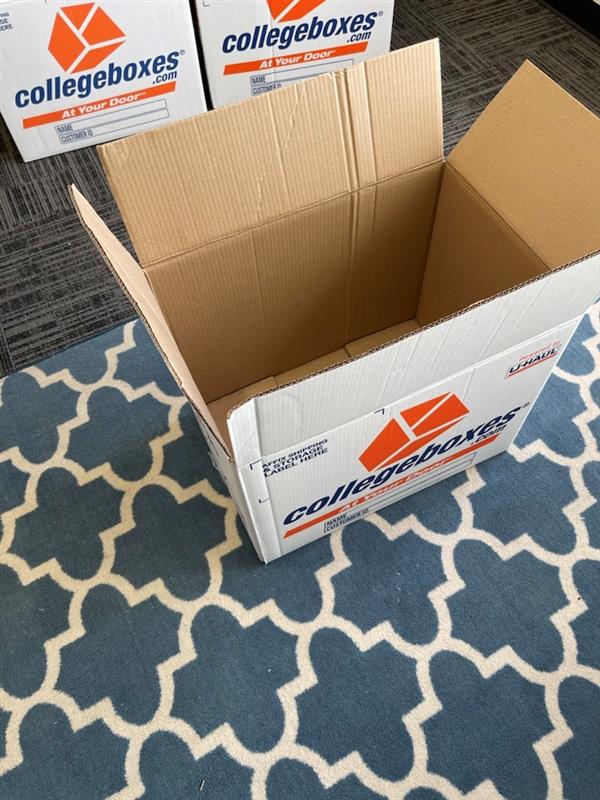
2. Flip box upside down and create a rectangle with the walls of the box.
![](https://www.collegeboxes.com/wp-content/uploads/2023/10/2.jpg)
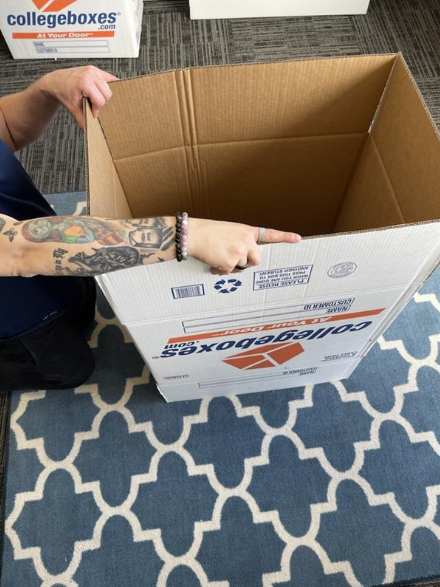
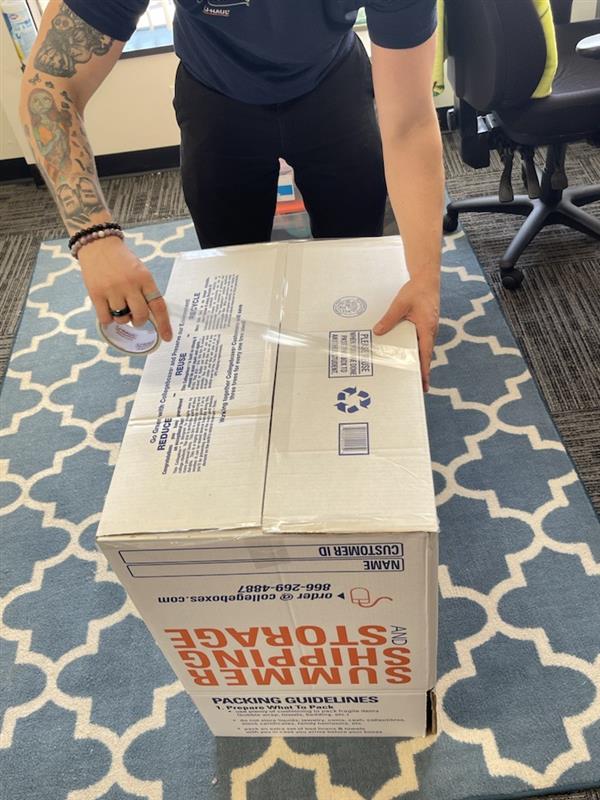
3. Push smaller flaps down first, and then the larger flaps.
![](https://www.collegeboxes.com/wp-content/uploads/2023/10/3.jpg)
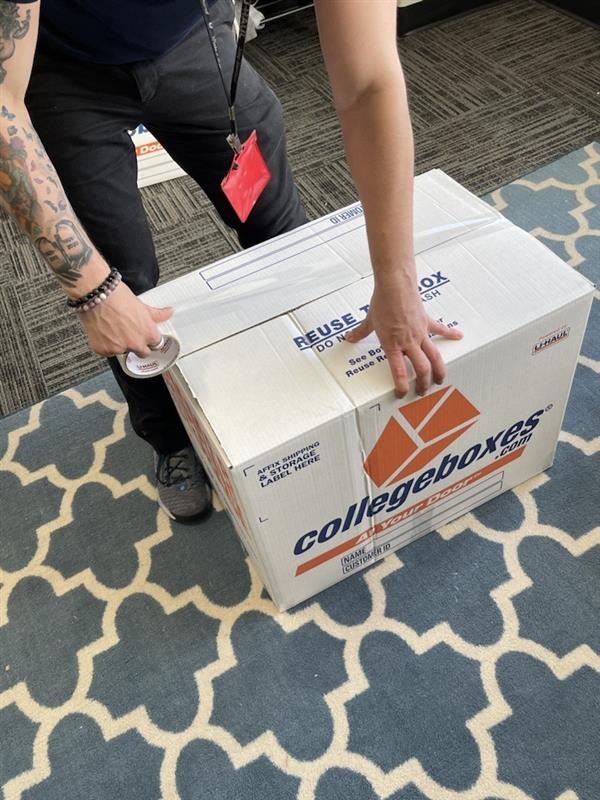
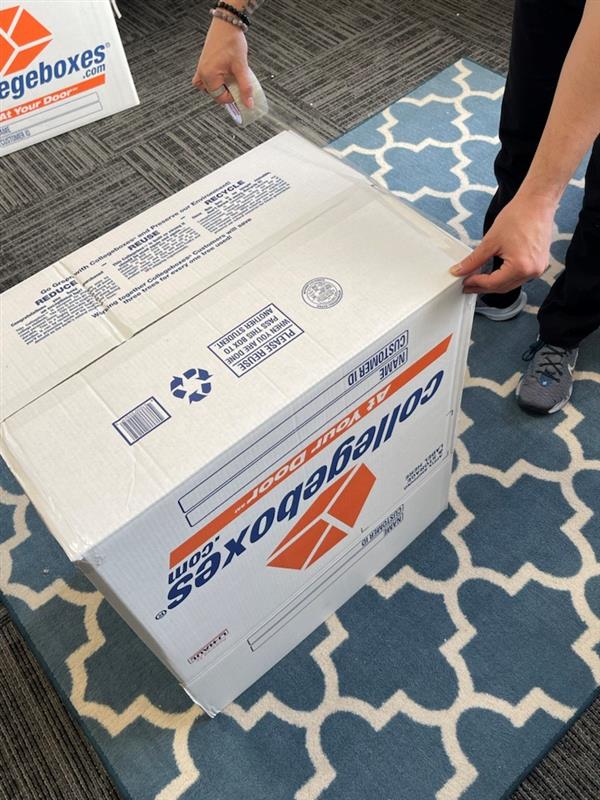
4. Tape the long flaps together, extending the tape to the sides of the box.
![](https://www.collegeboxes.com/wp-content/uploads/2023/10/5.jpg)
We also suggest taping the seam along the short side of the box and across the middle.
![](https://www.collegeboxes.com/wp-content/uploads/2023/10/6-1.jpg)
![](https://www.collegeboxes.com/wp-content/uploads/2023/10/7.jpg)
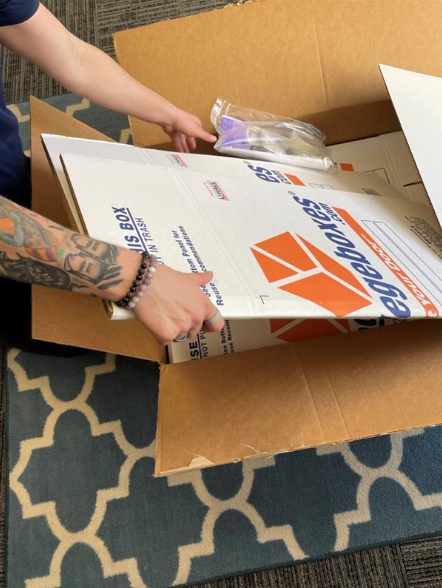
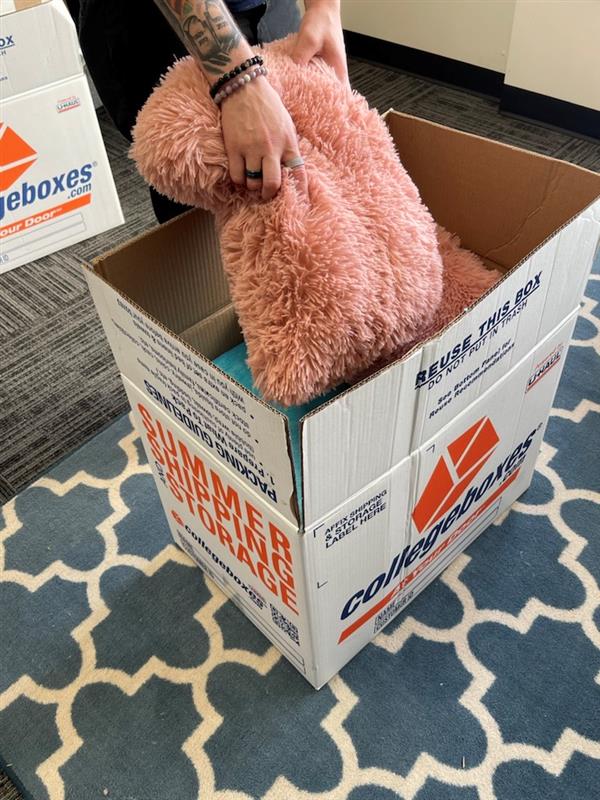
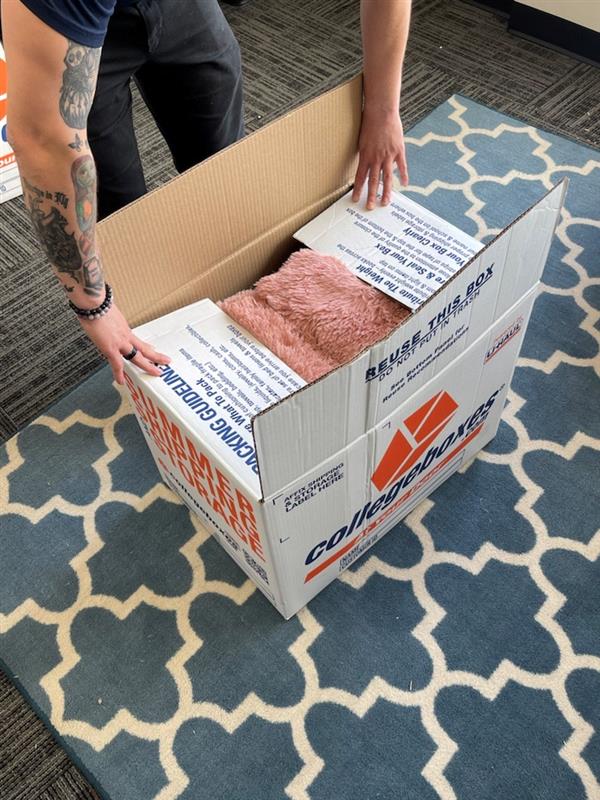
5. Flip box right-side up and start filling it with what you need stored or shipped.
![](https://www.collegeboxes.com/wp-content/uploads/2023/10/36d2bfe5-ef36-43ca-b830-0fb3b6a9788d.jpg)
6. When box is packed, fill all void space with towels, wrapping paper, and whatever else you have available to protect your items.
![](https://www.collegeboxes.com/wp-content/uploads/2023/10/8-1.jpg)
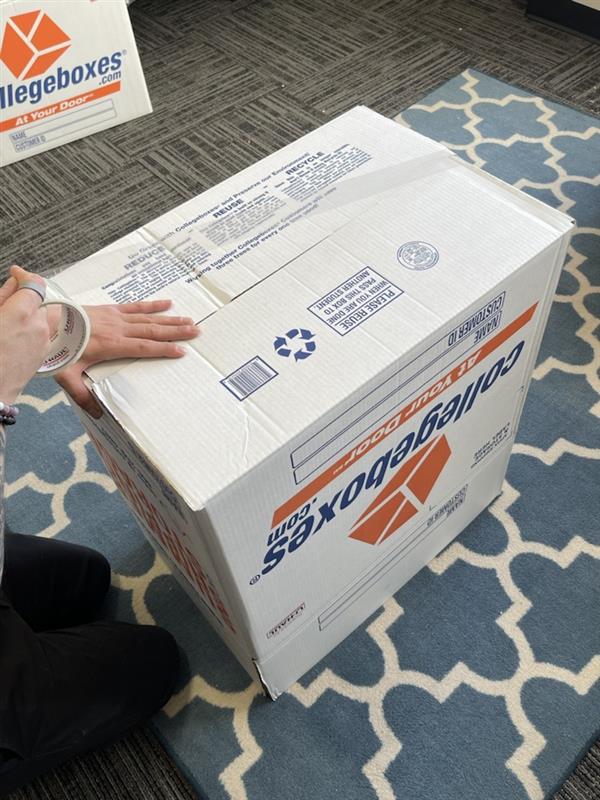
7. Fold small flaps down first, and then the larger flaps.
![](https://www.collegeboxes.com/wp-content/uploads/2023/10/9-1.jpg)
![](https://www.collegeboxes.com/wp-content/uploads/2023/10/30f5fb7f-8021-4881-91df-4c2dcf91e868-3.jpg)
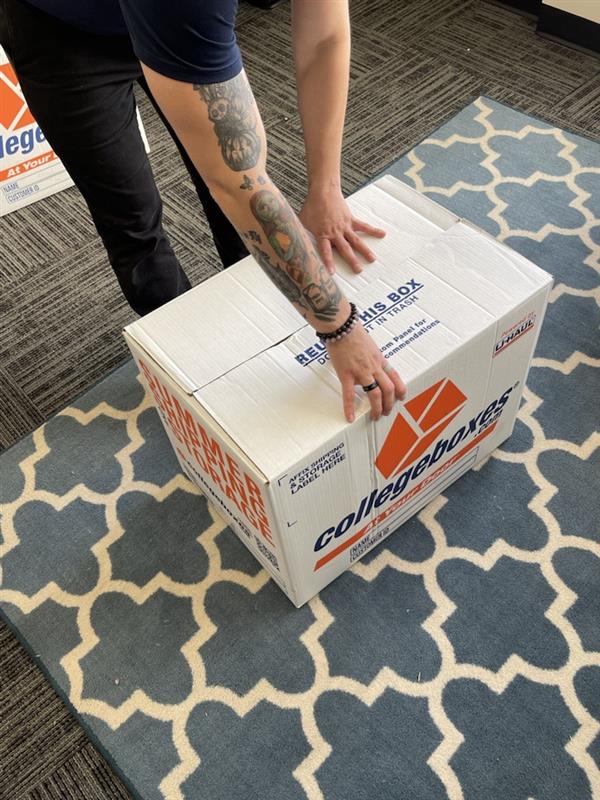
8. Tape the long flaps together, extending the tape to the sides of the box.
![](https://www.collegeboxes.com/wp-content/uploads/2023/10/10-1.jpg)